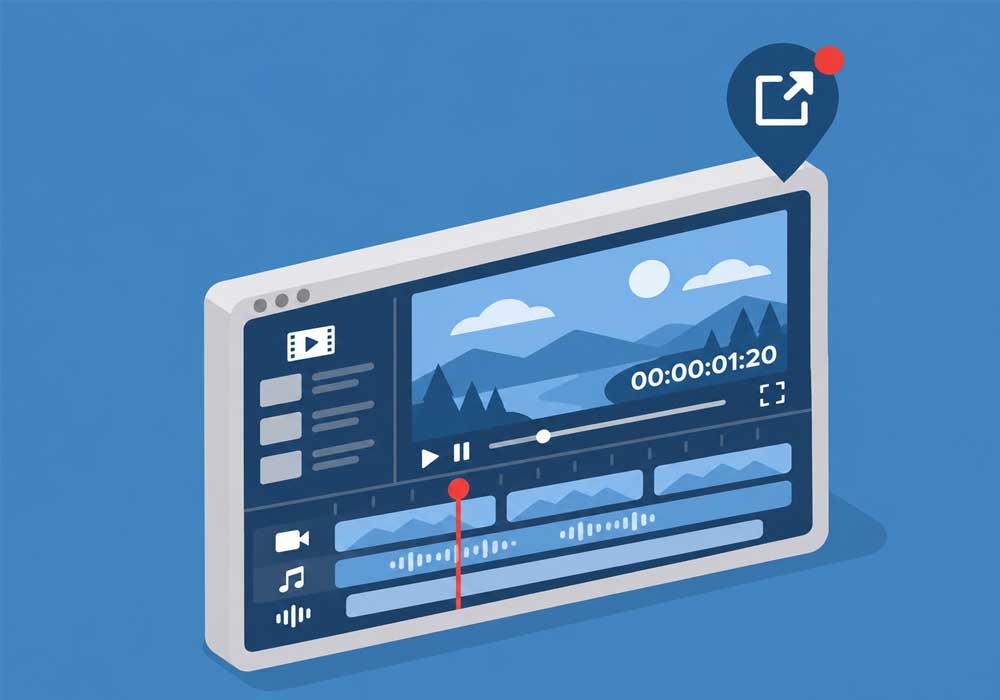
If you’re sending a video to a client or colleague for feedback, adding a visible timecode makes it easy for them to tell you exactly where a change is needed. In Adobe Premiere Pro, you can add it directly in the export settings in about 10 seconds, without adding an effect to your timeline.
The quick route: Export → Effects → tick Timecode Overlay → adjust the settings → export as usual.
How to add a timecode overlay in Premiere Pro
- Open your sequence and go to Export. Get your timeline ready as you normally would, then open the Export workspace. This walkthrough uses the Media File option to export directly from Premiere Pro.
- Open Effects and tick Timecode Overlay. Expand Effects in the export settings and enable Timecode Overlay. The timecode should now appear over the video in the export preview.
- Adjust how the timecode looks. Use the Position, Size and Opacity controls to make the numbers easy to read without covering anything important. Use the X and Y offset controls to fine-tune where they sit.
- Check the preview and export. Scrub through a few points in the preview to check that the timecode is legible and shows the numbers you expect. Then click Export as usual.
Which timecode settings should you use?
For a review copy, Bottom Center is a good starting point. If you have subtitles or titles there, try a top corner instead. Check the overlay against both light and dark shots, especially if you’ve reduced its opacity.
The export panel also includes a Time Source setting and an Offset in Frames control. If you need the visible timecode to match your edit for feedback, compare a couple of points in the export preview with the corresponding points in your timeline before exporting.
Why add timecode to a review copy?
It turns feedback like “Can we trim the pause near the end?” into something you can act on straight away: “Can we trim the pause at 00:01:24:12?” Everyone reviewing the file can see the same reference on screen.
The overlay is burned into the exported video, so it stays visible when someone plays the file. When you’re ready to deliver a clean version, untick Timecode Overlay and export again.
Meta title: How to Add Timecode to a Premiere Pro Export
Meta description: Learn how to add a timecode overlay to a Premiere Pro export in seconds and adjust its position, size and opacity for an easy-to-review video.